
 Social proof.
It’s the most powerful form of marketing today.
So, what is it? Social proof is essentially getting other people talking to others about your business.
Today’s consumer is especially leery of the good news a business publishes about themselves. It’s considered a given that a business is not going to point out the “warts” in their business model. And with that in mind, they consider a fellow consumer with no “skin in the game” a more trustworthy source of information about how good or bad a business, its staff, and its services might be. Today’s consumer wants to hear it from other people.
(Related: Comparing the Cost of 9 Dental Marketing Strategies)
You’ve probably followed this path yourself. Before you buy something off Amazon you check the reviews – what are REAL people saying about this product?
And this is why social proof is so important. Your website alone is not enough. Your website talks about you; your promotions talk about you; YOU talk about you. Now, of course, everything your website and promotions say are believable, but who does today’s consumer trust the most during the initial contact phase? People that have been to your business; people that have actually received your services.
A prospective patient reading a patient review that states: “Dr. Appleseed changed my life! I used to hate coming to the dentist, but Dr. Appleseed and his staff were so welcoming and made it enjoyable to see the dentist.” (and so on), puts them one step closer to picking up the phone. It’s far more powerful than anything said on your website.
And if you want to take social proof one step further to make it stronger than ever, you need video testimonials.
So, today I want to talk you through a tutorial on how to create video patients’ testimonials. It’s easy – anyone can do it and it’s worth your time!
(Related: Getting the Most Out of Your Dental Marketing)
Patient Consent
 Obviously the first step is that the patient consents to give a testimonial on camera. Don’t pressure patients into it if they’re hesitant – because a) this hesitancy will come across in the video and b) it can create more hassle later if they change their mind and want you to take it down or get upset because they didn’t really want to have their video displayed publicly. You should have plenty of patients that are so happy with your team and their results from the treatment that they’d love to help you out by sharing their story. If not, you may need some work on the level of customer service and communication in your office.
This is important: In the United States, every patient would need to sign a waiver or consent form allowing you to share their testimonial. You want to ensure you stay compliant with HIPAA, so seek the proper legal advice for crafting this form. Without consent, sharing a patient’s video would be a HIPAA violation, so don’t skip this step. This consent form would be drafted by any attorney. And while this may sound daunting – it’s not all that hard to get.
In any event, a couple of correct steps from the beginning can ensure you start off on the right foot and get rolling!
(Related: Are You Spending Too Much or Too Little on Marketing?)
Note for Canadian dentists: Seek advice from your attorney or the proper officials for advice on what type of patient video content can legally be recorded, shared and how it may be shared. You would also want guidance on what type of consent forms would need to be used.
Equipment
Cameras
The easiest piece of equipment to use is something you already have… your phone! The quality from your phone is perfect for creating video testimonials and is a great starting point.
I don’t mind that the video and audio quality aren’t quite “professional level” with a phone video because that homemade feel can actually make the testimonial seem more real. So, it’s not too much of a downside here. For that matter, you don’t want an over-the-top high production value Hollywood type video – it seems staged. A phone, a simple camera that records high-quality video works.
Having said that, if you do want to go more “pro” with better equipment, I support you! Higher quality video and audio makes it easier to watch, makes your practice seem more professional, and you can still make it come across as real and not staged (which of course, it is).
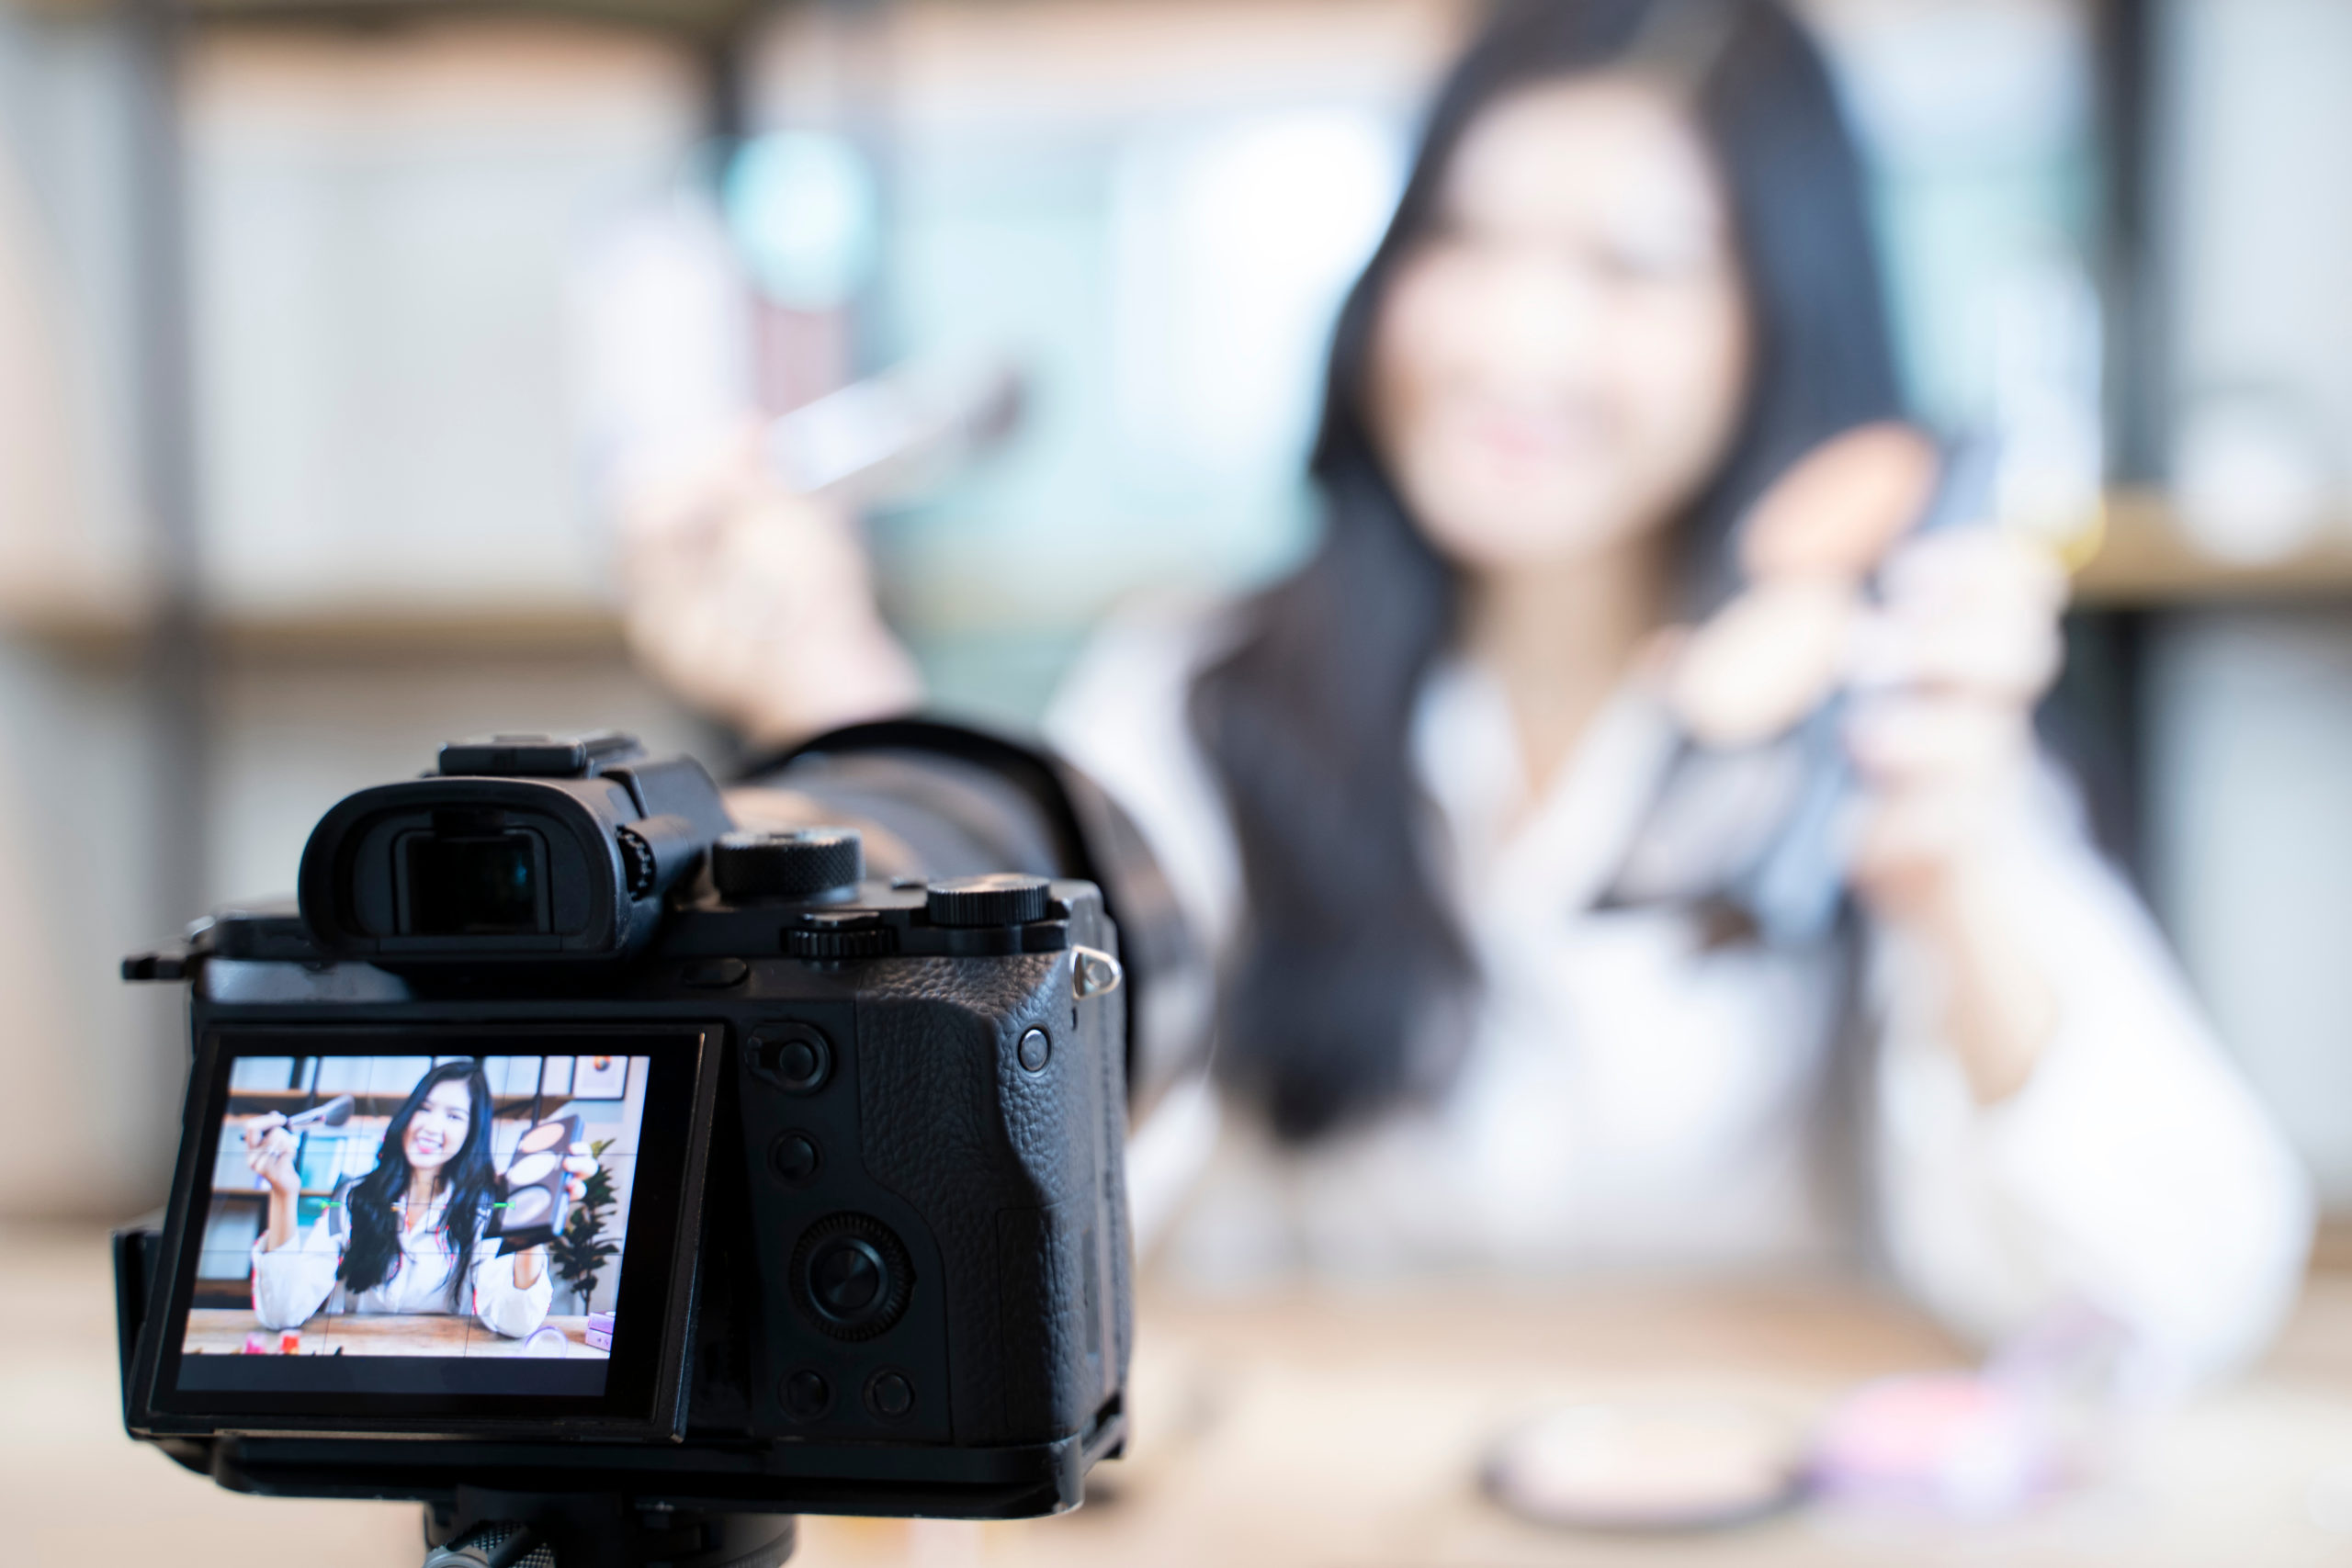
You can step it up a notch and purchase some professional equipment, such as the Sony Alpha a6400 Mirrorless Camera (you can buy it here on Amazon). I like this camera because it’s a digital camera that has interchangeable lenses, meaning you can have multiple lenses and change them out as needed. Plus, because the lens is higher quality than that of a phone, it’ll create a blurred background (also known as bokeh). Below is a screenshot of a video testimonial to show how the quality of the lens blurs out the background so only the subject is in focus, which forces you to look only at the subject.

The camera I linked to above is just the camera itself without a lens. I recommend also purchasing the Sigma 30mm 1.4 lens for Sony (you can click here to buy it on Amazon). It’s what we use here at MGE and we love what it produces!
Audio
Now, you can have amazing footage, but if the audio isn’t good… the entire video isn’t good. If you have poor audio, you’re going to lose your audience – it communicates that you’re really not that professional, when in fact you are!
(Related: Marketing Cosmetic Dentistry: 6 Ways to Get Patients Interested in Cosmetic Services)
So, I recommend purchasing a microphone. There are two different types you can get:
- A Boom Microphone. A “boom mic” is a microphone that stands on a tripod with a long arm (pictured below). It captures audio right where the subject is standing. Now, if we rely on the audio from the camera, the microphone in the camera is going to try to listen to the subject who is a few feet away. It’ll “listen” so hard that it ends up capturing all other sounds around the subject, whereas a boom microphone just “listens” to the subject (click here to buy a kit from Amazon)

- Another option is to have a lavalier microphone, also called a “lav mic.” It’s a little microphone that clips on to the lapel, tie or collar. You can plug the microphone into your camera or even your phone! My favorite brand is the Purple Panda on Amazon. It’s an inexpensive way to have crisp, professional audio for your testimonials!
Tripods
It’s important to have a tripod for your camera, whether you’re using a professional one or just your phone, because it’ll prevent shakiness that is caused by holding it with your hands.
If you’re using your phone, an awesome tripod is actually a selfie stick with a tripod! This one here on Amazon is a great choice, and it comes with a remote trigger so you can easily start and stop the recording without having to touch your phone.
If you decide to use a professional camera, a basic tripod will work just fine. You can find one easily on Amazon or Best Buy.
In the end, don’t wait until you have the perfect equipment to get going! Get your waivers/consent forms and start now with your iPhone! You can upgrade as time goes by.
Where to record the patient testimonial
 Now that you have the equipment, you’ll need to find a space in your office to do these testimonials. I recommend a room or area that has access to windows so you can take advantage of the natural light. Recording your testimonial outside is an option, but I don’t really recommend it because if there’s wind or people walking around it can be distracting.
Ideally, you just want a small space with minimum distractions to record your patient testimonial – it doesn’t need to be fancy, but like I mentioned above, a room with windows will produce a better video rather than overhead lights which can create shadows on a person’s face. But, if the only space you have is an extra room without windows, use it!
(Related: 6 Ways to Improve Your Local Ranking on Google)
One pet peeve – ensure the space you’re recording is clean and free of random things. I’ve seen plenty of video where there’s a water bottle or a bunch of papers on a desk and so on that should have been moved. Organize the area before you record!
Recording the Patient Testimonial
Now that you have all your equipment together and you know where you’re going to record the testimonial, your next step is to pick a patient and get their approval to have their success story recorded. And as I mentioned above, make sure they sign that consent form!
When you’re filming, put a focus on two things:
- That the patient looks happy (even if they’re saying nice things, if they look nervous, monotonous or sullen, the viewer will pick up on that).
- That it doesn’t sound scripted. This should feel as genuine and natural as possible, so if it seems like they’re reading off a script it doesn’t have the right effect.
Now, you don’t just want any patient, there are qualifications you’ll want to look for when choosing a patient to do a video testimonial.
Get started
I think this information is a good start and you can begin filming some testimonials.
There is some more to learn though, such as:
- How to select the right patient to film (there are a few specific qualifications you’ll want to look for)
- How to guide them into giving a genuine, natural testimonial
- And how to share these videos for maximum exposure online.
All of that information is laid out at our in-person Internet Marketing Workshop at our Florida office in St. Petersburg! It’s a fantastic seminar that is not only informative, but practical as we walk you through how to improve and start your online marketing campaigns in live time. Click here to read more information about the MGE Internet Marketing Seminar.
If you’re not able to make it to the in-person seminar, no worries, this information is also available on our online training platform, DDS Success. On top of learning how to correctly record your patient testimonials, you’ll also get access to the entire training library which consists of video courses to train your team on systems from case acceptance to hygiene & patient retention to scheduling to phone skills and so much more. You can head over to www.ddssuccess.com to learn more, or you can set up a complimentary demonstration to see how it all works by clicking here.
I hope this tip helps you create awesome video testimonials! Now, your social proof will be rock solid! If you have any questions about this topic, feel free to reach out to me at DanB@mgeonline.com or you can call us at (800) 640-1140.


No Comments
Be the first to start a conversation